How to Install a Wood-Burning Fireplace Insert for Maximum Efficiency
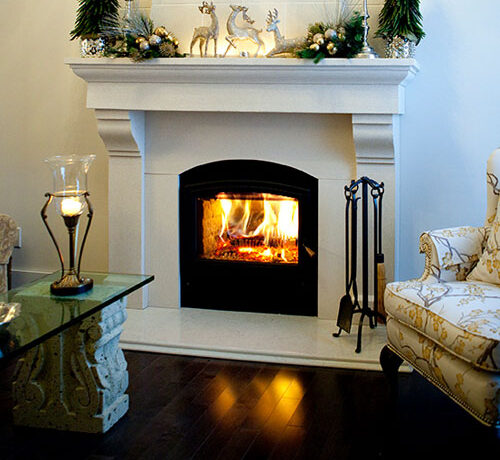
A wood-burning fireplace insert is an excellent way to enhance home heating while maintaining the cozy ambiance of a traditional fireplace. Unlike open fireplaces that lose heat through the chimney, inserts are designed to maximize warmth and improve energy efficiency. If you’re considering this upgrade, it’s important to understand the installation process to ensure safe and effective operation.
That’s why Stamford Fireplaces has collected all you need to know about the process for you here!
1. Understand the Benefits
Traditional fireplaces can be inefficient, often allowing heat to escape rather than warming your home. A wood-burning stove or fireplace insert retains and redistributes heat, making your space more comfortable while lowering heating costs. Additionally, modern inserts are designed to burn wood more efficiently, producing fewer emissions and reducing environmental impact.
2. Measure Your Fireplace
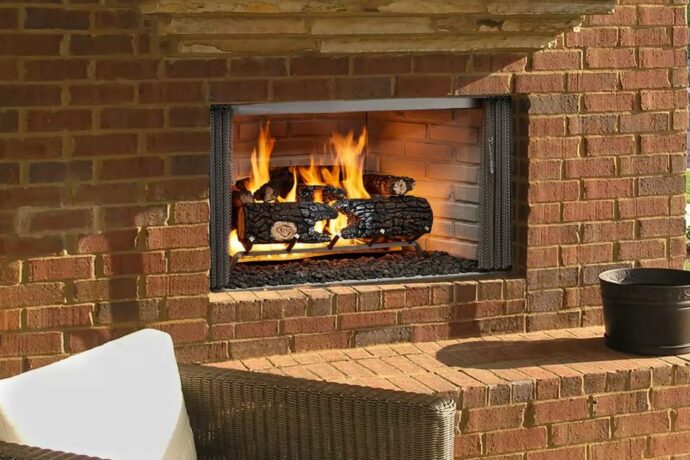
Before purchasing an insert, take precise measurements of your existing fireplace. Measure the height, width, and depth to ensure compatibility. Also, check the clearance requirements specified by the manufacturer. Choosing the right size insert is essential for optimal performance, safety, and aesthetics.
3. Prepare the Space
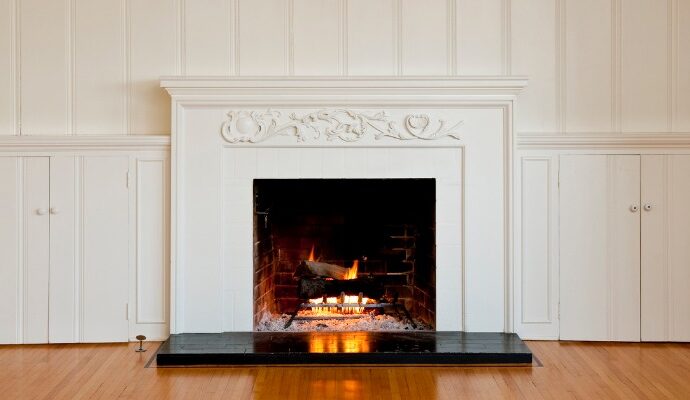
Proper preparation is key to a smooth installation. Start by having the fireplace cleaned thoroughly, and removing soot, ash, and debris. Have a professional inspect your chimney to confirm it’s in good condition and compliant with local venting codes. Because a wood-burning fireplace insert requires proper ventilation, installing a high-quality stainless steel chimney liner is crucial for safe operation.
4. How Professionals Install the Insert
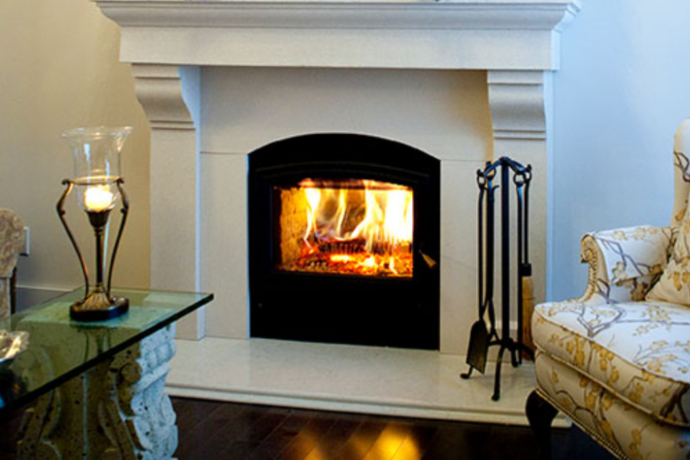
Following the manufacturer’s instructions, professionals carefully install the insert by:
- Positioning it inside the fireplace, leaving space to access the flue.
- Installing a flexible stainless steel chimney liner from the top down.
- Attaching the liner to the insert’s flue for proper ventilation.
- Securing the top of the flue with a cap to prevent blockages.
- Sliding the insert into its final position and installing the surround to create a seamless look.
Professional installation is recommended for safety and efficiency, but if you’re experienced with home improvement projects, a DIY approach is possible with proper planning.
5. Test and Maintain
Once installed, test the insert by lighting a small fire and ensuring proper airflow and heat distribution. Regular maintenance is essential to keep your insert functioning efficiently. Clean the chimney liner annually, inspect door seals, and remove any buildup of ash to prolong the lifespan of your unit.
Contact us to shop wood-burning fireplace inserts in Niagara today!
A wood-burning fireplace insert is a smart investment that enhances warmth, reduces energy loss, and adds value to your home. By following these installation steps, you can enjoy a more efficient and eco-friendly heating solution for years to come.
For expert advice and high-quality fireplace inserts, visit Stamford Fireplaces today online or in-store, or call (905) 356-2922 for more information.